Sunday, August 21, 2011

I made a Ring

Soo... Last night, when I was bored.
I started to make a friendship bracelet.
Unfortunately, I cut the cording way too short to make it.
So, I though, hmm.. what can I do with this?
I decided, I can make a ring!
So I did.

What You Need:
Cording. Like what I have been using in my other projects of late.
Scrap material.
Needle and matching thread.

Step 1:
Using a square not friendship bracelet pattern,
Start tying your knots, until you can wrap it around the desired finger.

Step 2:
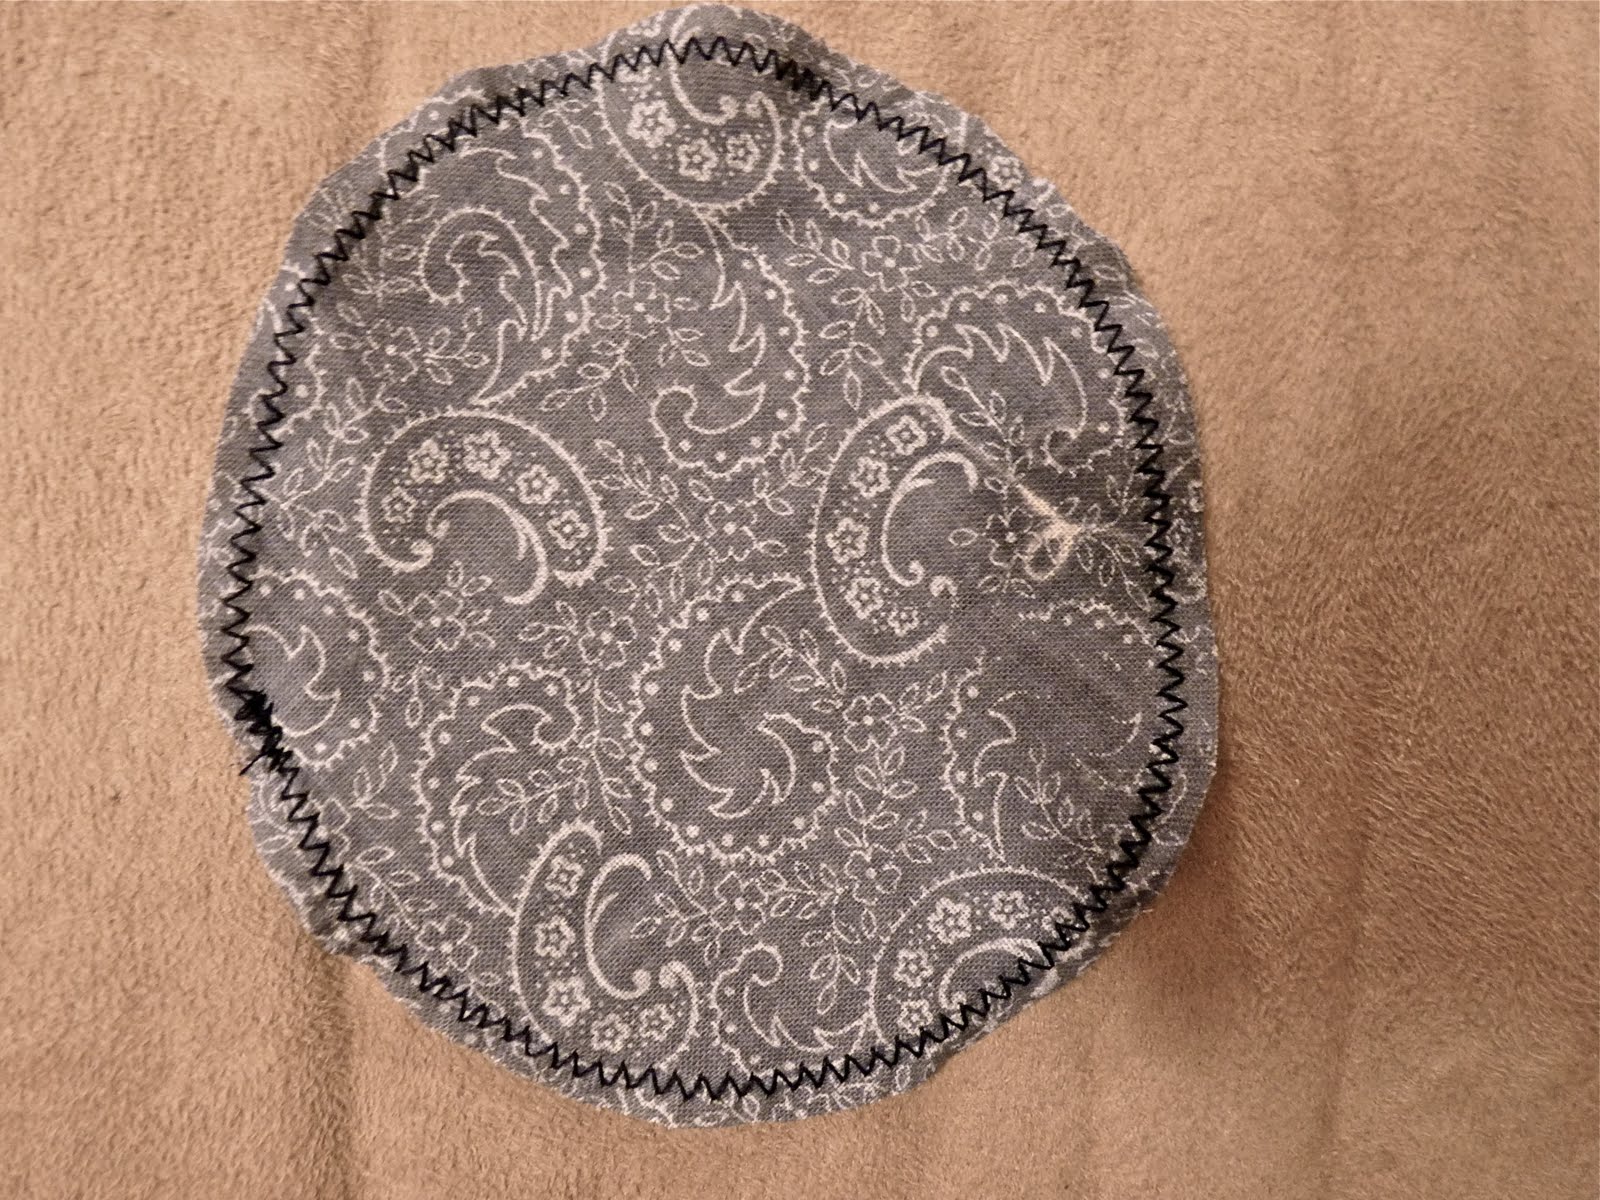
Cut out a strip of fabric. 
Mine was about 1 cm wide and about 11'' long.
I just cut off the hem so that I didn't have to worry about fraying.

Step 3:
Cut a piece of cording the same length as the fabric.
Take the ends and sew a couple stitches to anchor the ends together.
Keep the needle and thread attached.
Put a dab of glue on the end.

Step 4:
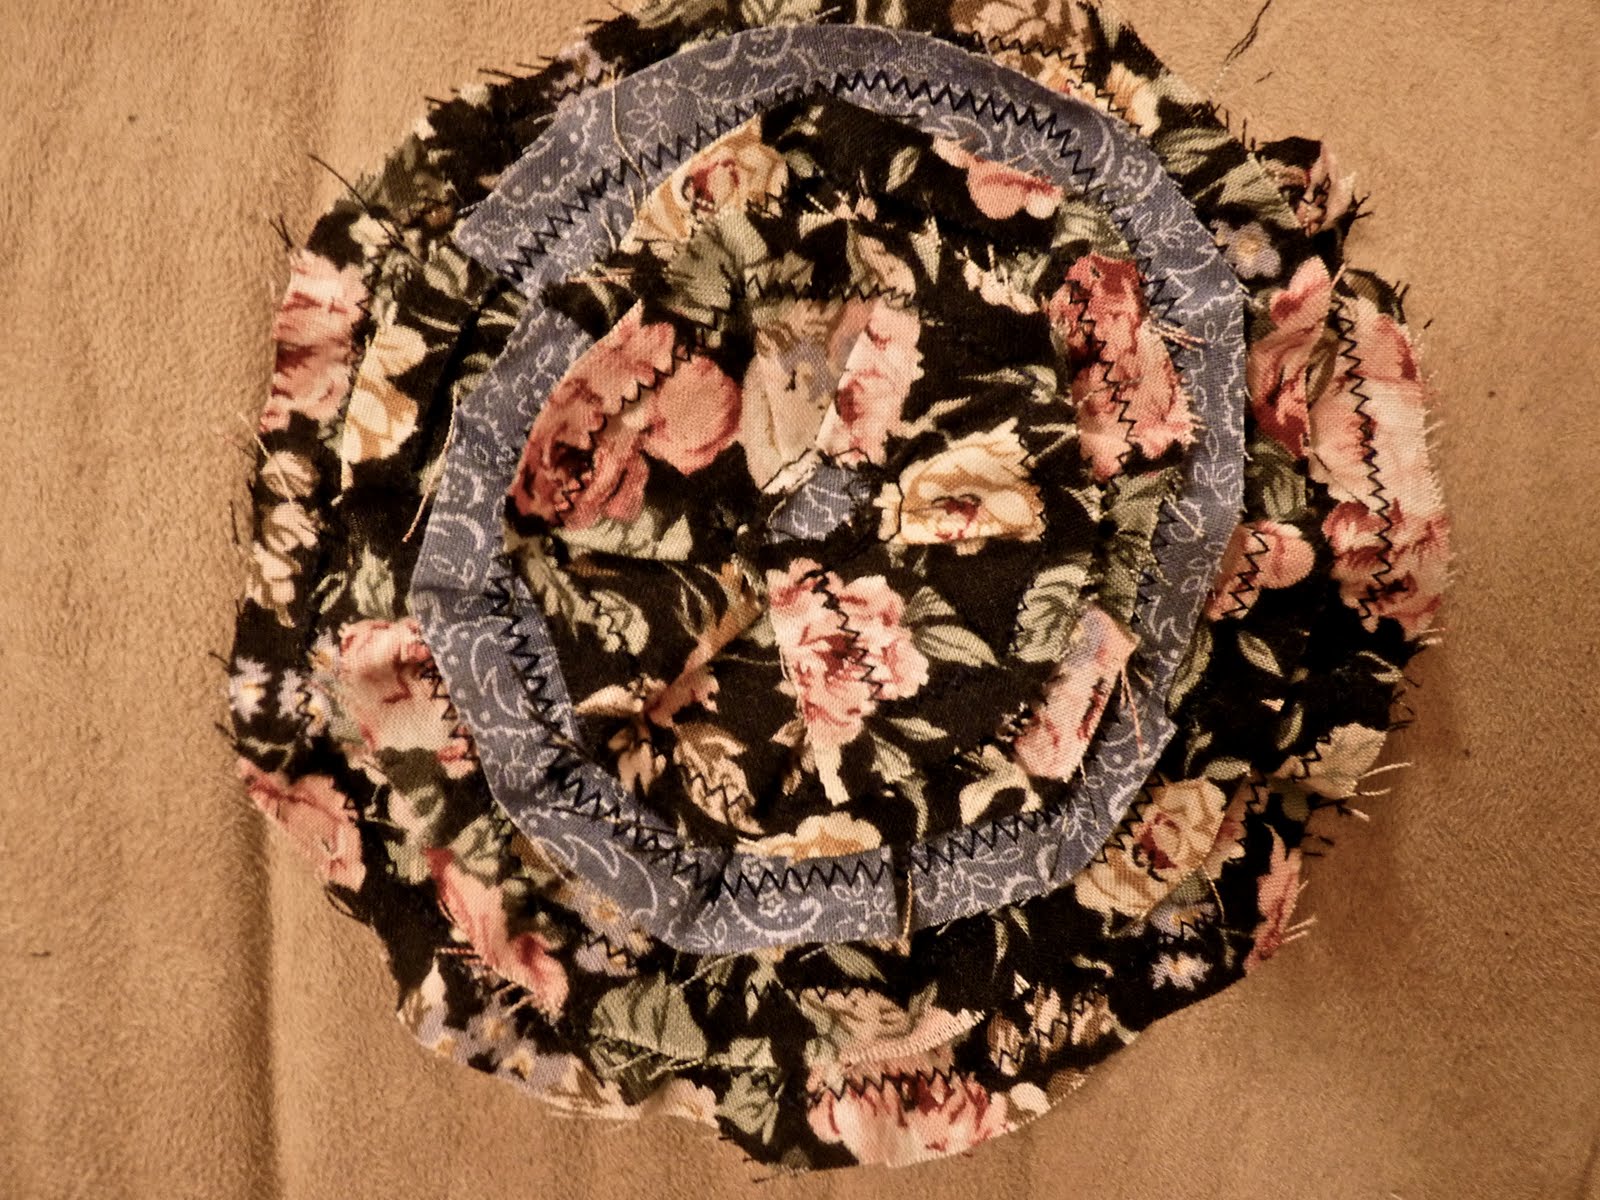
Start folding your fabric over into loops to create the petals.
After each fold put a stitch through the whole flower.
After you have made all the petals you want.
Cut off the extra fabric and cording, dab glue on the ends.
Keep the thread still attached. Have it coming out of the middle bottom of your flower.


Step 5:
Grab the actual ring part you made earlier. 
take your thread and sew your flower onto your ring.
I did about 10 stitches through the whole flower and onto the ring.
I wanted it to be pretty anchored on.

Step 6:
I don't know how to do this part better...
But I just tied all my ends together of the ring, using square knots.
Then I just glued the ends that it wouldn't come undone.
Unfortunately this creates kinda a large knot.
You can feel it when you're wearing your ring, but it's not bad.

All Done!


Also, I made this bracelet using my scrap material.
I just braided the fabric. Sewed the ends together. Then did a zig-zag around the whole thing.

Saturday, August 20, 2011

I fixed up this Dress... too.

So, I bought this dress at the Thrift store at the same time I bought that other one. 
I just finally got around to fix it up. 
It had a bunch of stuff needed to be done. 
Mostly, it was like 5 sizes too big.
Also, I looked like a polygamist in it. 
But, I loved the neck and fabric.
p.s. don't look at me.
p.p.s. the dress is red, not pink.

Before:                                     After:


Detailing I added around the hips/waist

Friday, August 19, 2011

Thursday, August 18, 2011

I made this Braided Necklace

Soo.. after I made my macrame steering wheel cover. I had a ton of rope left.
So, what else to do? I made more stuff.
I decided a necklace would look cool.
but I needed more things on it. 
Nuts are cheap. So I put those on.

What You Need:
Cording of some sort.
Nuts and Washers
I got nuts in: 1/4, 5/16, 3/8, and 1/2 (basically what the store had)
I then got a few washers in the 3/8 size.
Also, some Elmers Glue.

Step 1:
Measure out and cut 5 strands of cording about 72'' long.
Fold them in half. Cut out another about 6'' piece of cording.
wrap this around the end so that it leaves a loop.
Glue the ends.

Step 2:
Take 4 of your strands. Braid them using a 4 strand braid.
I still don't know how, and I read up everywhere. 
Here are some pictures and link I found somewhat useful.
But really, I don't think it matters what it looks like, a little messy makes it look better.


Step 3:
Take 3 strands. Do a normal braid.
in various areas on your braid, you can put on your nuts and washers.
How you do this is you put it on the middle strand, and continue braiding. Easy.


Step 4:
Take the remaining 5 strands. Do a 5 strand braid.
This one, I remember learning when I was super little on some indian reservation.
I think.
Anywho, the best thing I could find to teach you, is this YouTube video. 
she's using bread, but it's done the same way. 

Step 5:
Take all of the ends and stick them through the loop you made earlier. 
fold it over and put some glue on it.
Then cut out another 6'' cord.
wrap this around and tie it. Make sure you glue the ends.

Step 6:
I thought I was done, but it kind hung weird.
So I decided to do a couple wraps around the main part of the necklace.
This tied all the different strands together.


You're Done!
It's a heavy necklace but, cute! Also, remember to cut off all those crazy loose ends.

I also made this keychain with my leftovers.

Tuesday, August 16, 2011

Fixed up Dress

Sooooooo.... I found this dress at the D.I. thrift shop for like 4 bucks. was the fabric cute? yes. 
Was the bust part cute? yes. Neckline cute? yes. Sleeves cute? no. Length good? no.
Which means, I got to fix it up! :)

I just hemmed it up, hemmed the sleeves, and made them from flowy, to actual sleeves.
Then I made a matching flower to put on the waist to give it some style from the extra fabric.
Here is if you want to make a flower too.

Before:

After:

I made this Flower

Soo.. I was fixing up this dress I got from the thrift store.
I had some extra fabric, and I thought...
This dress would be cute with a little flower thing on it.
So... I made one :)

Supplies:
Fabric strips, about 1'' wide, you can use scrap pieces

Step 1:
Sew these fabric strips together, and zig zag around the edges..
It will help with the fraying.

Step 2:
cut a circle/ovally piece of fabric out.
I was going for circle, but it turned out oval.. I honestly don't think it really matters.

Step 3:
Pin your sewn together strips around the oval fabric.
Starting from the outside in, pin the fabric.
I used little tucks so that it would go around smoothly. This also created a cute flower look.
Also only do about once around the circle at a time.

Step 4:
I did a straight stitch following the edge of the fabric. 
Keep pinning and sewing until you reach the middle.

You're Done!
I put it on my dress.. but I think it would be uber cute as a headband, or hair clip.