So, you may possibly have an heirloom chair around your house, that in one point in time had a nice beautiful whicker seat. Then through the years the whicker broke, and it was replaced by.. a piece of wood, that had some cheap fabric stapled over it. This works, but does not look very nice. A couple of years ago I had a chair exactly like this. I repainted it a couple of years ago to match my room, but then it still had cheap gross fabric. I had no idea what to do to make it match or look better, so.. I being 16 had a ton of extra stretchy book covers. I put 3 on over the wood seat. It looked bad. Plus, the wood still was weak, and I would still fall through the chair multiple times. It was not fun when trying to apply make-up and all the sudden your butt falls through a big hole and you have smeared make-up all over your face. I put up with, but was tired of that. I then saw this chair last winter with a cute fabric woven bottom and thought, hey! I can do that! So that's what I did.
Before Pics:
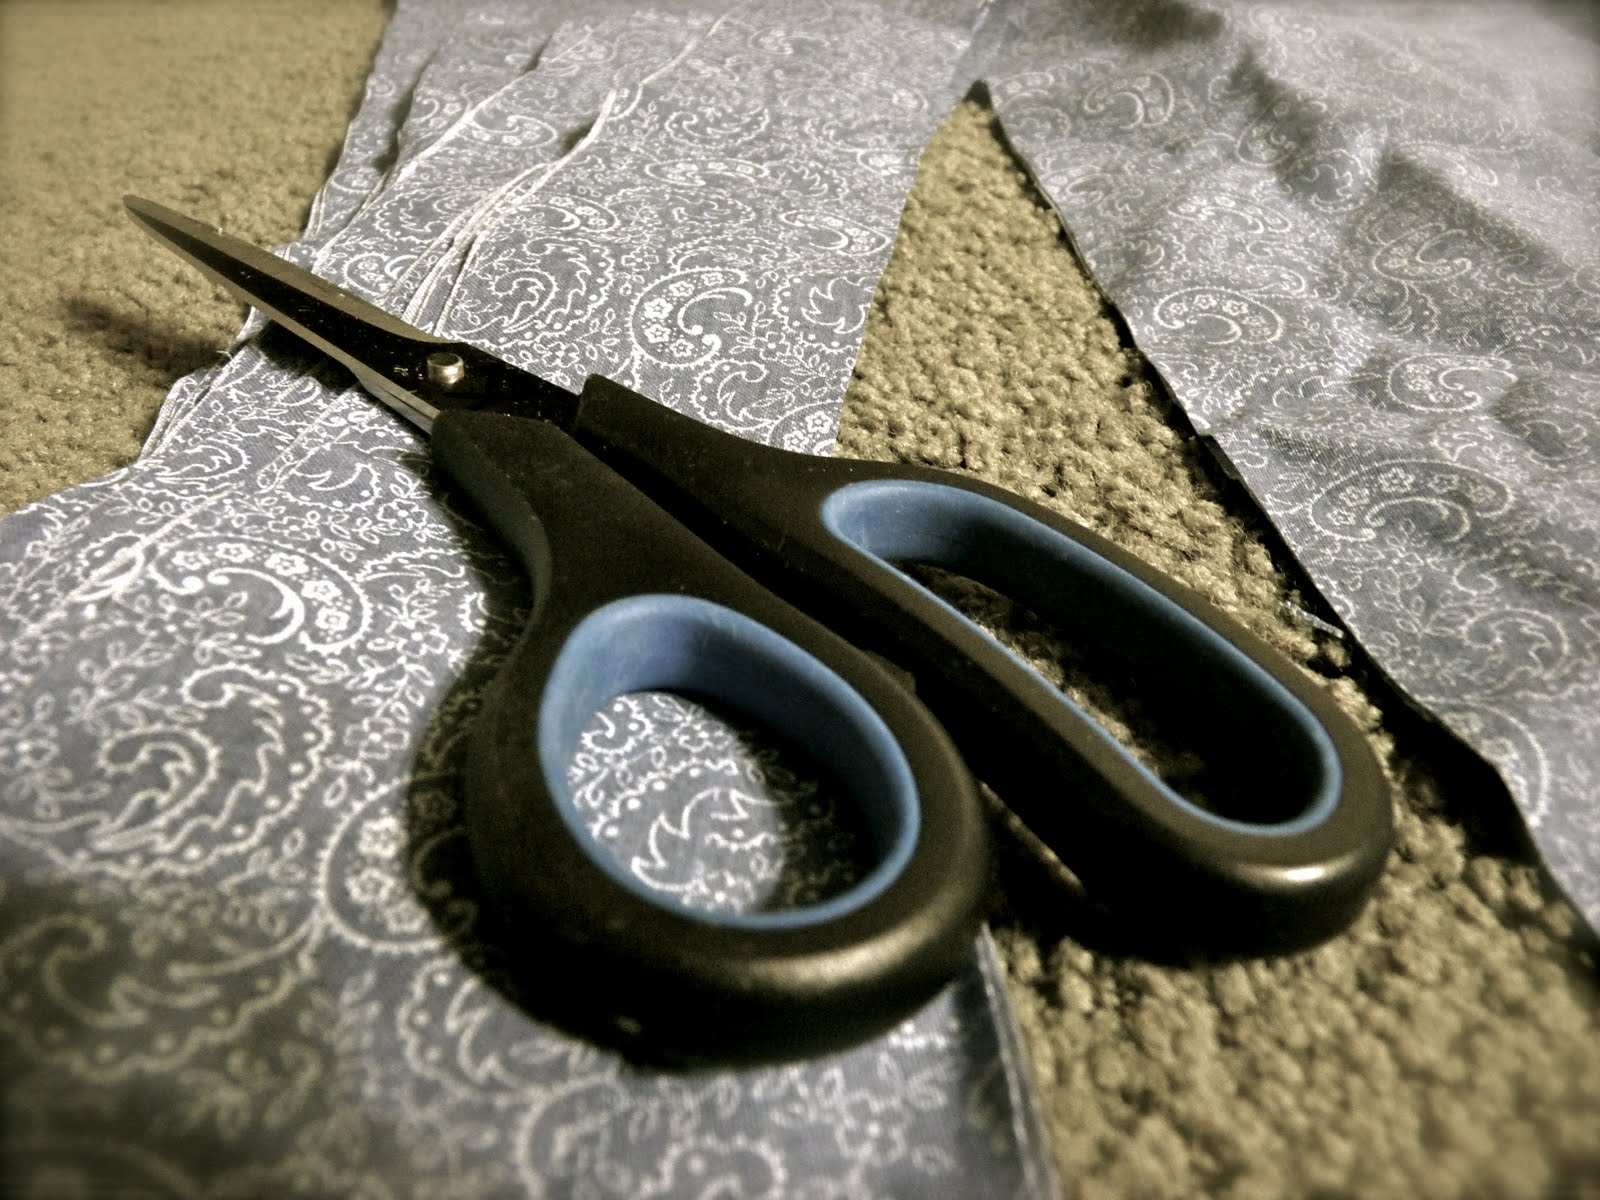
Before you start, pick and cut out your fabric strips into about 1 1/2'' strips. Also if you need to drill holes measure where you want them, and how many, and mark where you want them to be.


Step 1:
I got my awesome power drill and drilled 1/4'' inch holes an inch apart where I wanted my fabric to be woven from. This part was fun, just make sure when you are plugging in the drill, do not shock yourself, because that runs a strong current through your arm, and it hurts. Also, make sure you look at your drill bit from a couple of angles to make sure it is straight up and down before drilling. If your chair has a basic 4 bars around the outside, then you can skip this step,

Step 2:
Sand away wood splinters around the drill holes, and if you want to repaint, sand wherever you need to paint, or repaint, or if you want a wood color, where you would like to varnish. Make sure you wipe down the furniture, and then paint. Let dry for 4-6 hours.


Step 3:
Start weaving your fabric. I started by putting both ends through the first hole, and then I looped it around itself. I then pulled it tight and put down through the hole across and pulled it as tight as I could. I then did a square knot, plus one more knot on the bottom side. Do this all the way across, switching which side you loop the fabric onto.


Step 4:
Same as step 3 but you are going the other way. On this side weave the fabric over and under the fabric you just applied the other way. This creates your weave. When you finish this. You are Done! give yourself a pat on the back and relax in your newly made seat bottom. Woot!


Before Pics:
Before you start, pick and cut out your fabric strips into about 1 1/2'' strips. Also if you need to drill holes measure where you want them, and how many, and mark where you want them to be.


Step 1:
I got my awesome power drill and drilled 1/4'' inch holes an inch apart where I wanted my fabric to be woven from. This part was fun, just make sure when you are plugging in the drill, do not shock yourself, because that runs a strong current through your arm, and it hurts. Also, make sure you look at your drill bit from a couple of angles to make sure it is straight up and down before drilling. If your chair has a basic 4 bars around the outside, then you can skip this step,

Step 2:
Sand away wood splinters around the drill holes, and if you want to repaint, sand wherever you need to paint, or repaint, or if you want a wood color, where you would like to varnish. Make sure you wipe down the furniture, and then paint. Let dry for 4-6 hours.


Step 3:
Start weaving your fabric. I started by putting both ends through the first hole, and then I looped it around itself. I then pulled it tight and put down through the hole across and pulled it as tight as I could. I then did a square knot, plus one more knot on the bottom side. Do this all the way across, switching which side you loop the fabric onto.


Step 4:
Same as step 3 but you are going the other way. On this side weave the fabric over and under the fabric you just applied the other way. This creates your weave. When you finish this. You are Done! give yourself a pat on the back and relax in your newly made seat bottom. Woot!


No comments:
Post a Comment