Tuesday, August 16, 2011

Fixed up Dress

Sooooooo.... I found this dress at the D.I. thrift shop for like 4 bucks. was the fabric cute? yes. 
Was the bust part cute? yes. Neckline cute? yes. Sleeves cute? no. Length good? no.
Which means, I got to fix it up! :)

I just hemmed it up, hemmed the sleeves, and made them from flowy, to actual sleeves.
Then I made a matching flower to put on the waist to give it some style from the extra fabric.
Here is if you want to make a flower too.

Before:

After:

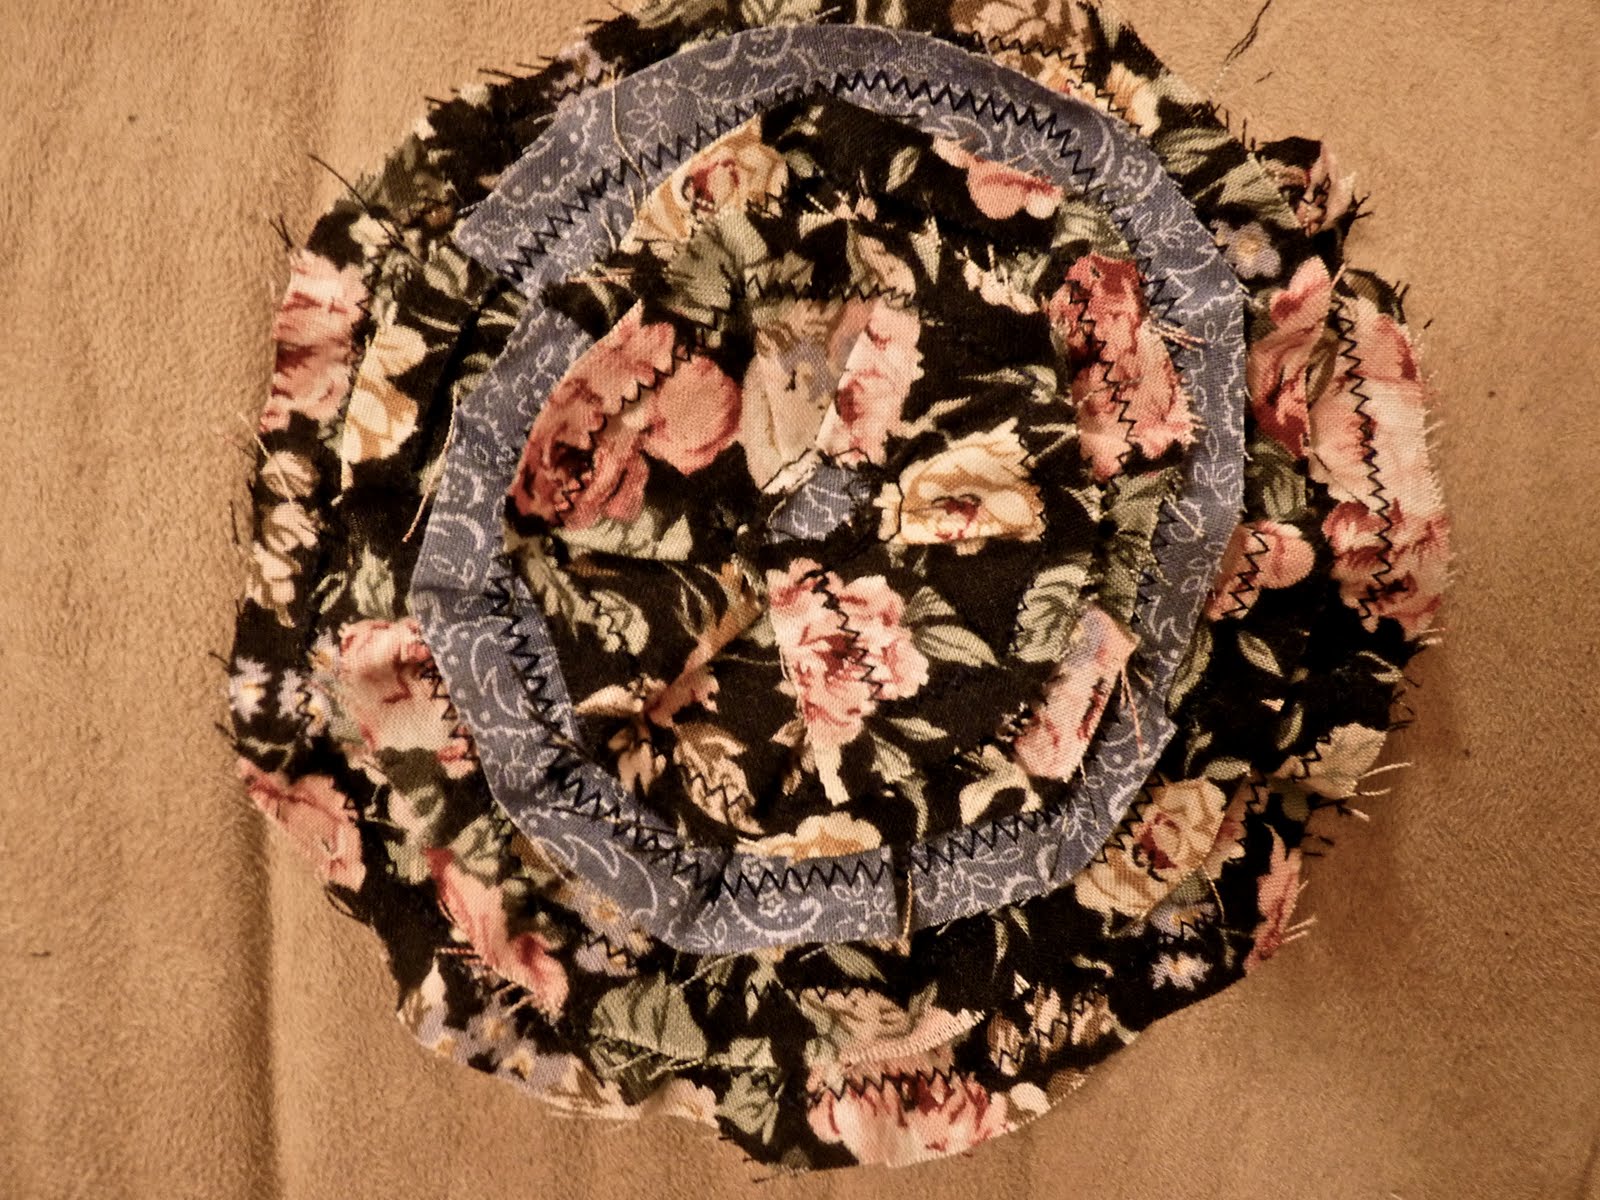
I made this Flower

Soo.. I was fixing up this dress I got from the thrift store.
I had some extra fabric, and I thought...
This dress would be cute with a little flower thing on it.
So... I made one :)

Supplies:
Fabric strips, about 1'' wide, you can use scrap pieces

Step 1:
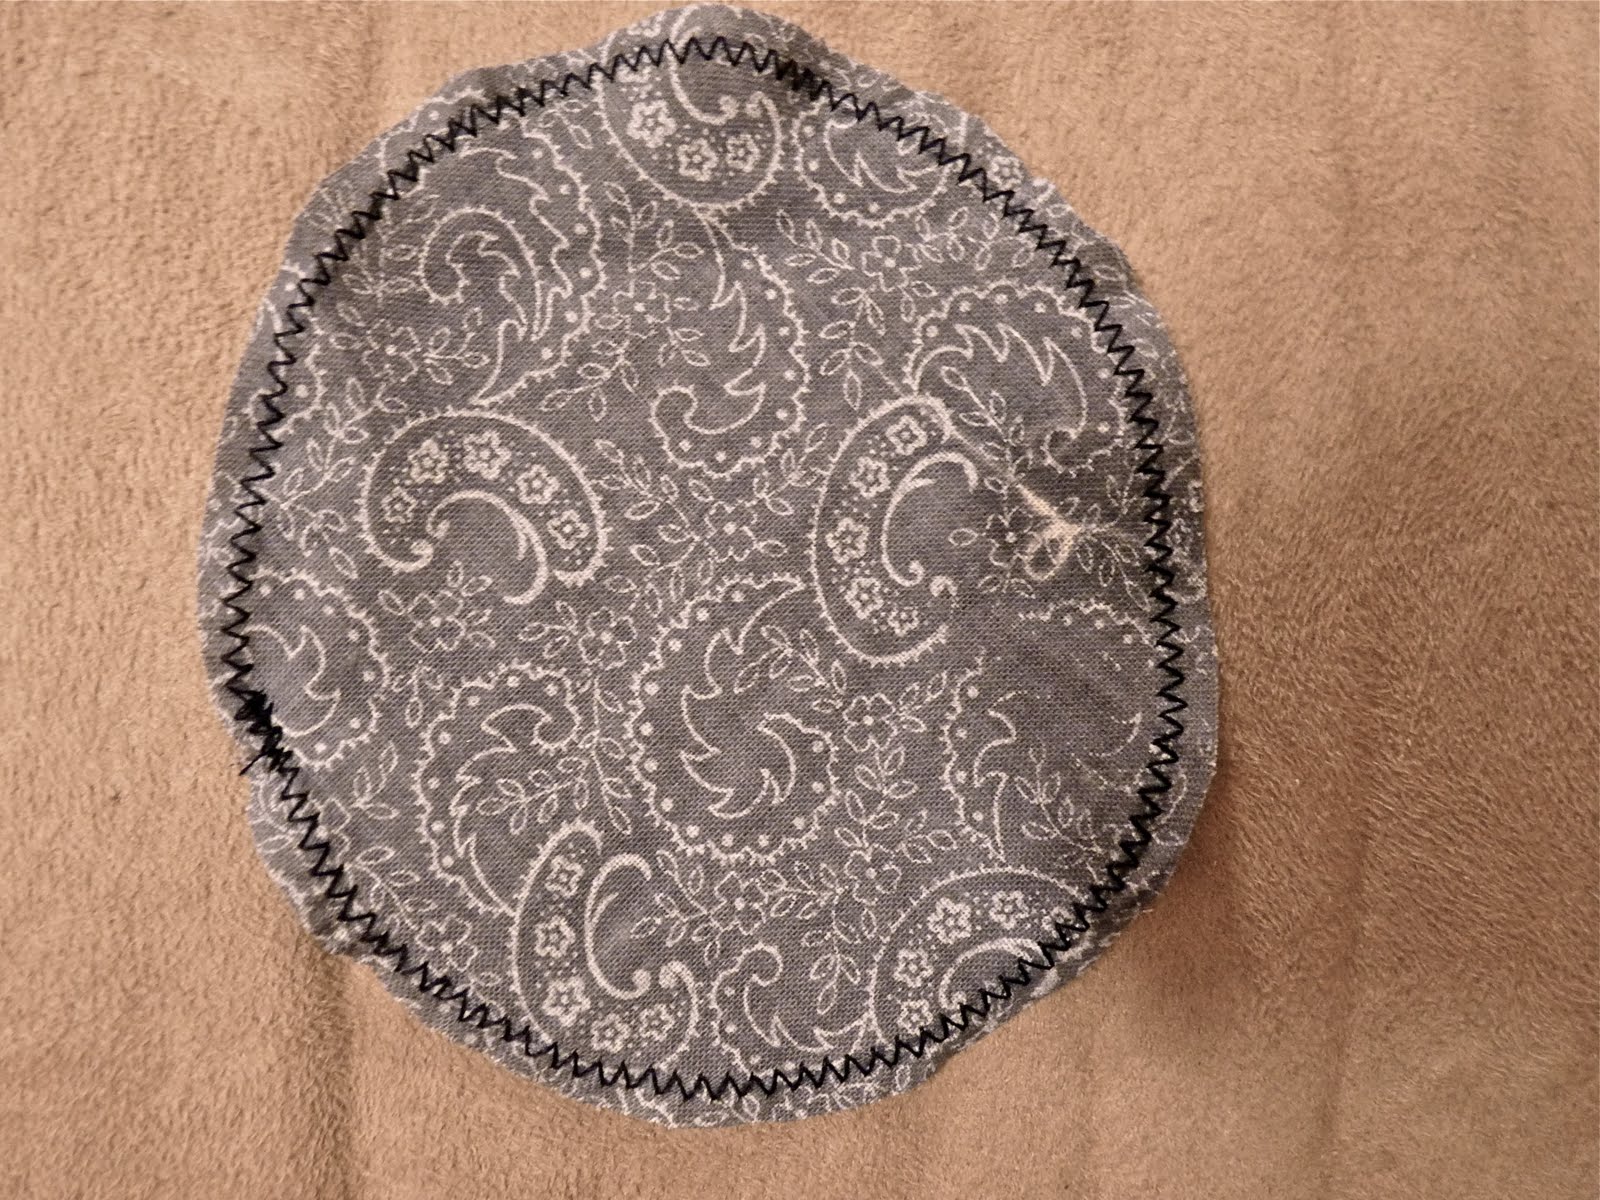
Sew these fabric strips together, and zig zag around the edges..
It will help with the fraying.

Step 2:
cut a circle/ovally piece of fabric out.
I was going for circle, but it turned out oval.. I honestly don't think it really matters.

Step 3:
Pin your sewn together strips around the oval fabric.
Starting from the outside in, pin the fabric.
I used little tucks so that it would go around smoothly. This also created a cute flower look.
Also only do about once around the circle at a time.

Step 4:
I did a straight stitch following the edge of the fabric. 
Keep pinning and sewing until you reach the middle.

You're Done!
I put it on my dress.. but I think it would be uber cute as a headband, or hair clip.

Thursday, August 11, 2011

Macrame Steering Wheel Cover


So.. I kinda just figured this out, and there aren't really any good instructions. I used a belt pattern that I found online, using this website. I think she explains it way good. Instead of attaching my ends to a belt ending, I used a hair elastic. That way I could tie it super tight around my steering wheel. I had to make mine about 39 inches. My wheel has a 43 inch circumference. I then just kinda wove it onto my wheel. This project took me forever, but I'm super excited about having a way unique wheel cover. :)


Grandma's Sugar Cookies

So.. I have been craving my grandma's sugar cookies for about a month now.
So, tonight, I finally made them.
Here is the recipe and how to make them yourself. 
They are SO good. For Reals!
Everyone I know who had tried them, has loved them.

Ingredients:
1 1/2 Cup Butter                      1 tsp Lemon Extract
2 1/4 Cup Sugar                       5 Cups Flour
4 Eggs                            2 tsp Baking Powder
1 tsp Vanilla                                       2 tsp Salt
1 tsp Almond Extract


Step 1:
Mix together dry ingredients. (Flour, Baking Powder, and Salt)


Step 2:
Mix together all other ingredients. (Butter, Sugar, Eggs, Vanilla, and Extracts)

Step 3:
Mix dry ingredients with the other ingredients. It should make a soft dough

Step 4:
Cover and let chill for at least an hour. I snacked on some dough while waiting. ;)


Step 5:
Roll dough out and cut out shapes. 
Bake at 400 degrees. 6 minutes for thin cookies, 8-10 for thicker cookies.
I cooked mine 6 and it seemed plenty.


Step 6:
Make homemade frosting. You have to have homemade frosting with
homemade cookies. 

Frosting Ingredients
This recipe makes a ton of cookies. So you'll need a lot of frosting.
1 stick butter
1 lb of powdered sugar
Dash of Vanilla
A splash of milk.


The milk you have to be careful with because a little bit goes a long way. It's mostly eyeballing it.

Step 7:
I wanted to use colors. So I separated some of the frosting into separate bowls and
 added 3 drops of food coloring.


Step 8:
Frost your cookies! I used a plastic bag with the corner cut out to get finer lines.


You're Done! Enjoy!


Tuesday, August 9, 2011

Green with Envy

So, guess what I did? I made another t-shirt scarf!
Last Thursday I was hanging out with my friend at the awesome Twilight Concert Series in SLC.
She had this uber awesome scarf that she bought at a Farmers Market type dealio.
I thought hey, that's made out of a t-shirt. I can make that.
So, this time I used one of my mom's t-shirts.


What You Need:
A t-shirt you don't mind cutting up, and a pair of scissors. 


Step 1:
Cut off  the hem

Step 2:
Cut horizontal strips in the shirt, I did mine about 1/2''-1'' wide.
Cut until you reach the sleeves. If you use a rotary blade, this would also go a lot faster.


Step 3:
Take each strip and separate the fabric, then stretch it as far as it will stretch.
Do this to all of the strips, you will end up with a bunch of circular strips.


Step 4:
Cut off a strip of fabric from somewhere else on your t-shirt.
I took mine from the shoulder, stretch it out.

Step 5:
Take your strip of fabric and wrap it around your circular cut strips so that it keeps them
all together. I just wrapped it around and then tied the two ends in a square knot. 


You're Done!
Easy right? this took me proably about 5-10 min.


While eating my toast outside this morning..
I turned into a child and burned my name into a leaf using a magnifying glass.
It was fun. :)


Monday, August 8, 2011

Make Your Own Scarves!

So.. I came across this web page the other day. I thought, what? I can have two cute scarves from one t-shirt? Heck yeah! So, tonight I raided my parents t-shirt collection, since I like all of my t-shirts. Chose one from my dad's collection. And made the scarves. Here is the super simple process if you want to make them too!

What You Need:
You need a pair of scissors and a t-shirt that you don't mind cutting up.


Step 1:
Turn the t-shirt inside out, and cut off the sleeves.


Step 2:
From where you cut the sleeves, but a little half circle. Then cut off the neck.


Step 3:
Starting from the middle, cut a fringe. Yup. After you do that. You are DONE with scarf #1


Scarf #2
Step 1:
Take the bottom of the shirt that you have left, and cut off the bottom seam, and then make a straight cut across the top. You're DONE!


Loop it Twice for a Different Look

It takes like 10 minutes tops to make these two cute scarves, I propose you try it. Plus, whilst raiding my dad's closet, I found an awesome Mickey sweater, and now it's mine. So who know's what you'll find!
Happy Crafting!