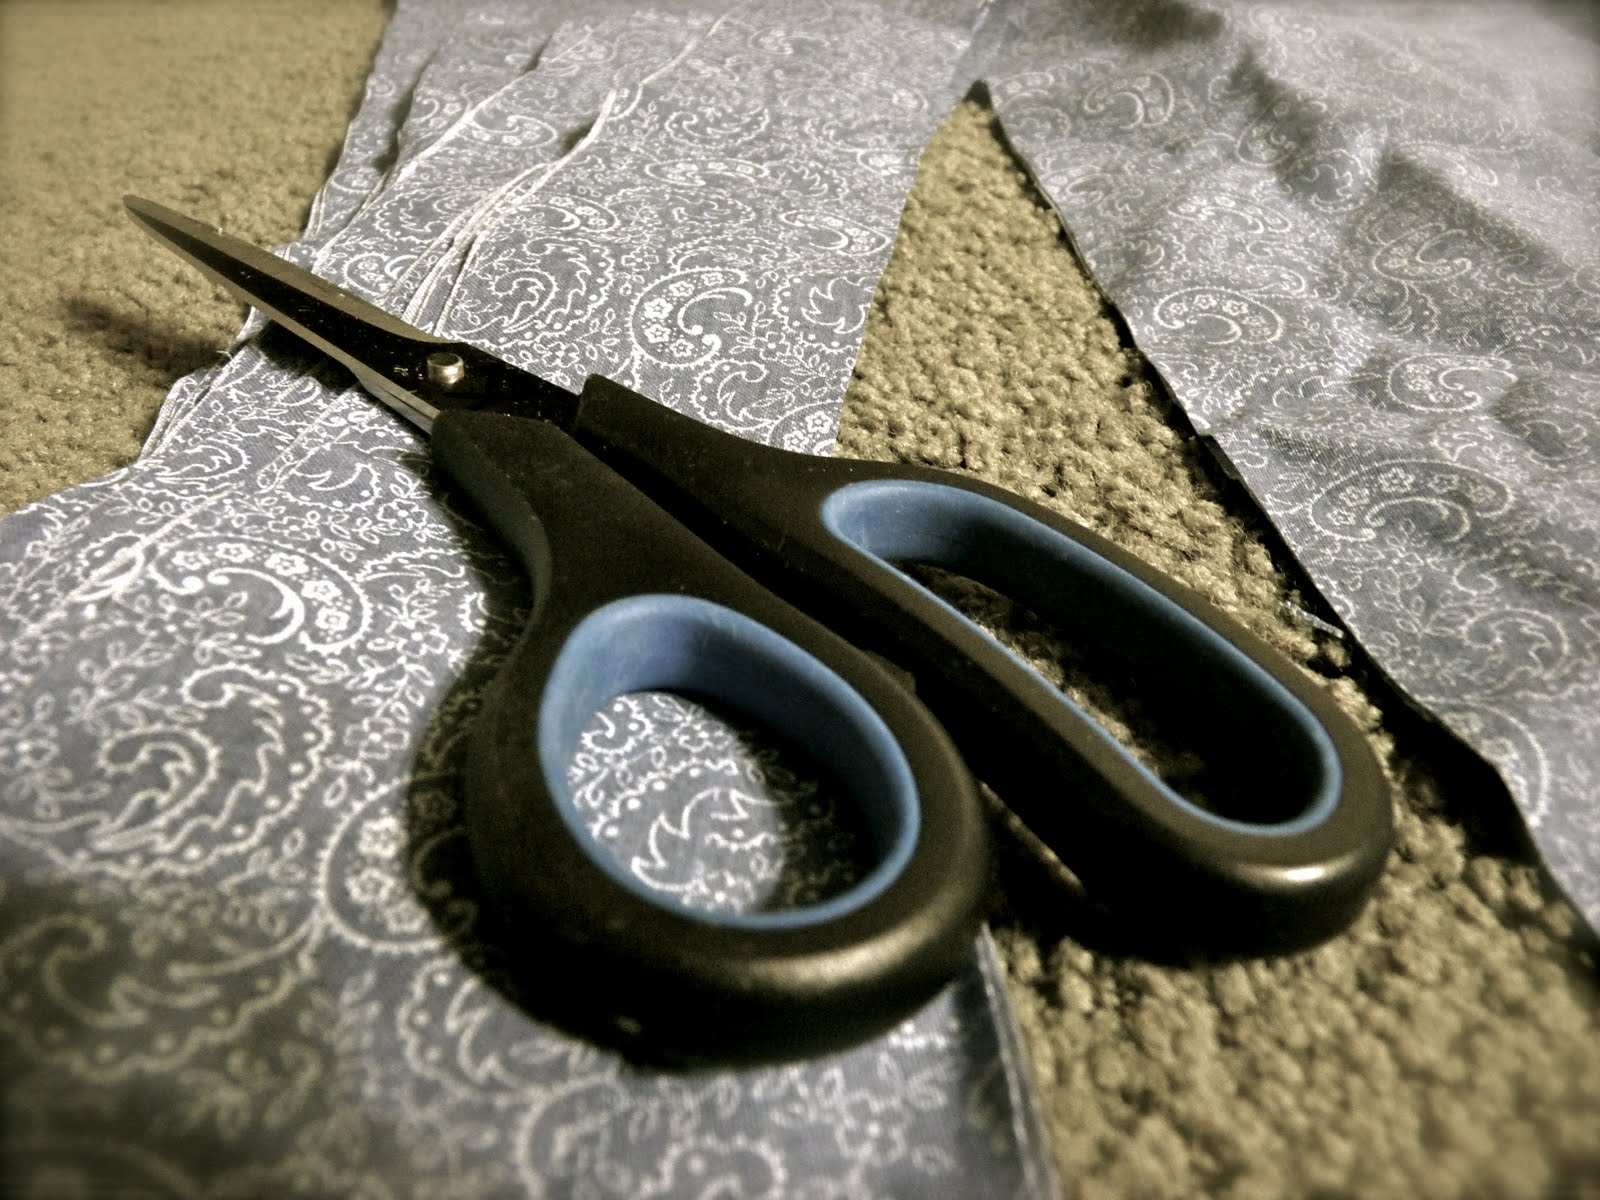
So.. I kinda just figured this out, and there aren't really any good instructions. I used a belt pattern that I found online, using this website. I think she explains it way good. Instead of attaching my ends to a belt ending, I used a hair elastic. That way I could tie it super tight around my steering wheel. I had to make mine about 39 inches. My wheel has a 43 inch circumference. I then just kinda wove it onto my wheel. This project took me forever, but I'm super excited about having a way unique wheel cover. :)
Thursday, August 11, 2011
Grandma's Sugar Cookies
So.. I have been craving my grandma's sugar cookies for about a month now.
So, tonight, I finally made them.
Here is the recipe and how to make them yourself.
They are SO good. For Reals!
Everyone I know who had tried them, has loved them.
Ingredients:
1 1/2 Cup Butter 1 tsp Lemon Extract
2 1/4 Cup Sugar 5 Cups Flour
4 Eggs 2 tsp Baking Powder
1 tsp Vanilla 2 tsp Salt
1 tsp Almond Extract
Step 1:
Mix together dry ingredients. (Flour, Baking Powder, and Salt)
Step 2:
Mix together all other ingredients. (Butter, Sugar, Eggs, Vanilla, and Extracts)
Step 3:
Mix dry ingredients with the other ingredients. It should make a soft dough
Step 4:
Cover and let chill for at least an hour. I snacked on some dough while waiting. ;)
Step 5:
Roll dough out and cut out shapes.
Bake at 400 degrees. 6 minutes for thin cookies, 8-10 for thicker cookies.
I cooked mine 6 and it seemed plenty.
Step 6:
Make homemade frosting. You have to have homemade frosting with
homemade cookies.
Frosting Ingredients
This recipe makes a ton of cookies. So you'll need a lot of frosting.
1 stick butter
1 lb of powdered sugar
Dash of Vanilla
A splash of milk.
The milk you have to be careful with because a little bit goes a long way. It's mostly eyeballing it.
Step 7:
I wanted to use colors. So I separated some of the frosting into separate bowls and
added 3 drops of food coloring.
Step 8:
Frost your cookies! I used a plastic bag with the corner cut out to get finer lines.
You're Done! Enjoy!
Tuesday, August 9, 2011
Green with Envy
So, guess what I did? I made another t-shirt scarf!
Last Thursday I was hanging out with my friend at the awesome Twilight Concert Series in SLC.
She had this uber awesome scarf that she bought at a Farmers Market type dealio.
I thought hey, that's made out of a t-shirt. I can make that.
So, this time I used one of my mom's t-shirts.
What You Need:
A t-shirt you don't mind cutting up, and a pair of scissors.
Step 1:
Cut off the hem
Step 2:
Cut horizontal strips in the shirt, I did mine about 1/2''-1'' wide.
Cut until you reach the sleeves. If you use a rotary blade, this would also go a lot faster.
Step 3:
Take each strip and separate the fabric, then stretch it as far as it will stretch.
Do this to all of the strips, you will end up with a bunch of circular strips.
Step 4:
Cut off a strip of fabric from somewhere else on your t-shirt.
I took mine from the shoulder, stretch it out.
Step 5:
Take your strip of fabric and wrap it around your circular cut strips so that it keeps them
all together. I just wrapped it around and then tied the two ends in a square knot.
You're Done!
Easy right? this took me proably about 5-10 min.
While eating my toast outside this morning..
I turned into a child and burned my name into a leaf using a magnifying glass.
It was fun. :)
Monday, August 8, 2011
Make Your Own Scarves!
So.. I came across this web page the other day. I thought, what? I can have two cute scarves from one t-shirt? Heck yeah! So, tonight I raided my parents t-shirt collection, since I like all of my t-shirts. Chose one from my dad's collection. And made the scarves. Here is the super simple process if you want to make them too!
What You Need:
You need a pair of scissors and a t-shirt that you don't mind cutting up.
Step 1:
Turn the t-shirt inside out, and cut off the sleeves.
Step 2:
From where you cut the sleeves, but a little half circle. Then cut off the neck.
Step 3:
Starting from the middle, cut a fringe. Yup. After you do that. You are DONE with scarf #1
Scarf #2
Step 1:
Take the bottom of the shirt that you have left, and cut off the bottom seam, and then make a straight cut across the top. You're DONE!
![]() |
| Loop it Twice for a Different Look |
It takes like 10 minutes tops to make these two cute scarves, I propose you try it. Plus, whilst raiding my dad's closet, I found an awesome Mickey sweater, and now it's mine. So who know's what you'll find!
Happy Crafting!
Wednesday, August 3, 2011
How to Redo Your Chair Seat
So, you may possibly have an heirloom chair around your house, that in one point in time had a nice beautiful whicker seat. Then through the years the whicker broke, and it was replaced by.. a piece of wood, that had some cheap fabric stapled over it. This works, but does not look very nice. A couple of years ago I had a chair exactly like this. I repainted it a couple of years ago to match my room, but then it still had cheap gross fabric. I had no idea what to do to make it match or look better, so.. I being 16 had a ton of extra stretchy book covers. I put 3 on over the wood seat. It looked bad. Plus, the wood still was weak, and I would still fall through the chair multiple times. It was not fun when trying to apply make-up and all the sudden your butt falls through a big hole and you have smeared make-up all over your face. I put up with, but was tired of that. I then saw this chair last winter with a cute fabric woven bottom and thought, hey! I can do that! So that's what I did.
Before Pics:
Before you start, pick and cut out your fabric strips into about 1 1/2'' strips. Also if you need to drill holes measure where you want them, and how many, and mark where you want them to be.
Step 1:
I got my awesome power drill and drilled 1/4'' inch holes an inch apart where I wanted my fabric to be woven from. This part was fun, just make sure when you are plugging in the drill, do not shock yourself, because that runs a strong current through your arm, and it hurts. Also, make sure you look at your drill bit from a couple of angles to make sure it is straight up and down before drilling. If your chair has a basic 4 bars around the outside, then you can skip this step,
Step 2:
Sand away wood splinters around the drill holes, and if you want to repaint, sand wherever you need to paint, or repaint, or if you want a wood color, where you would like to varnish. Make sure you wipe down the furniture, and then paint. Let dry for 4-6 hours.
Step 3:
Start weaving your fabric. I started by putting both ends through the first hole, and then I looped it around itself. I then pulled it tight and put down through the hole across and pulled it as tight as I could. I then did a square knot, plus one more knot on the bottom side. Do this all the way across, switching which side you loop the fabric onto.
Step 4:
Same as step 3 but you are going the other way. On this side weave the fabric over and under the fabric you just applied the other way. This creates your weave. When you finish this. You are Done! give yourself a pat on the back and relax in your newly made seat bottom. Woot!
Before Pics:
Before you start, pick and cut out your fabric strips into about 1 1/2'' strips. Also if you need to drill holes measure where you want them, and how many, and mark where you want them to be.
Step 1:
I got my awesome power drill and drilled 1/4'' inch holes an inch apart where I wanted my fabric to be woven from. This part was fun, just make sure when you are plugging in the drill, do not shock yourself, because that runs a strong current through your arm, and it hurts. Also, make sure you look at your drill bit from a couple of angles to make sure it is straight up and down before drilling. If your chair has a basic 4 bars around the outside, then you can skip this step,
Step 2:
Sand away wood splinters around the drill holes, and if you want to repaint, sand wherever you need to paint, or repaint, or if you want a wood color, where you would like to varnish. Make sure you wipe down the furniture, and then paint. Let dry for 4-6 hours.
Step 3:
Start weaving your fabric. I started by putting both ends through the first hole, and then I looped it around itself. I then pulled it tight and put down through the hole across and pulled it as tight as I could. I then did a square knot, plus one more knot on the bottom side. Do this all the way across, switching which side you loop the fabric onto.
Step 4:
Same as step 3 but you are going the other way. On this side weave the fabric over and under the fabric you just applied the other way. This creates your weave. When you finish this. You are Done! give yourself a pat on the back and relax in your newly made seat bottom. Woot!
Subscribe to:
Posts (Atom)